The allure of a hardcover book lies not only in its content but also in its sturdy construction and elegant appearance. Creating one is a rewarding journey that combines creativity and craftsmanship. Here is a comprehensive guide on how to make a hardcover book.
Prepare the Manuscript
- Editing and Proofreading: Thoroughly edit and proofread the text to ensure there are no errors in grammar, spelling, or content. This step is crucial for the quality of the final book.
- Formatting: Format the text in a suitable layout, choosing appropriate fonts, font sizes, and line spacing for readability. Consider the page size and margins according to the type of book and target audience. If there are illustrations or images, integrate them into the layout at this stage.
Print the Pages
- Select the Paper: Choose high - quality paper that suits the nature of the book. For example, use thicker, glossy paper for books with many color illustrations, and a more matte - finish paper for text - heavy books to reduce glare.
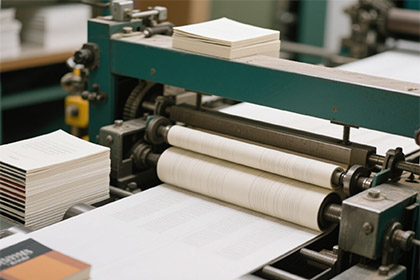
- Printing Method: You can use offset printing for large - scale productions, which offers high - quality results and accurate color reproduction. Digital printing is suitable for smaller print runs or when quick turnaround times are needed. Ink - jet printing can be used for books with a high proportion of full - color images. Print the pages in the correct order, usually in signatures (groups of pages that are folded and bound together).
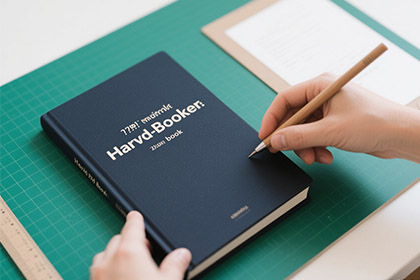
Create the Hardcover
- Cut the Board: Cut two pieces of thick cardboard to the size of the book's cover, plus an extra margin for the spine and any flaps. The spine width depends on the thickness of the book block.
- Cover the Board: Cover the cardboard pieces with the chosen material, such as cloth, leatherette, or decorative paper. Use glue or adhesive to attach the material firmly, ensuring there are no wrinkles or bubbles. For a more professional look, wrap the material around the edges of the board.
Bind the Book
- Sew the Signatures: Stack the printed signatures in the correct order and sew them together along the spine using a strong thread. This can be done by hand with a needle and thread or using a sewing machine designed for bookbinding. The sewing method helps to create a durable binding that can withstand frequent use.
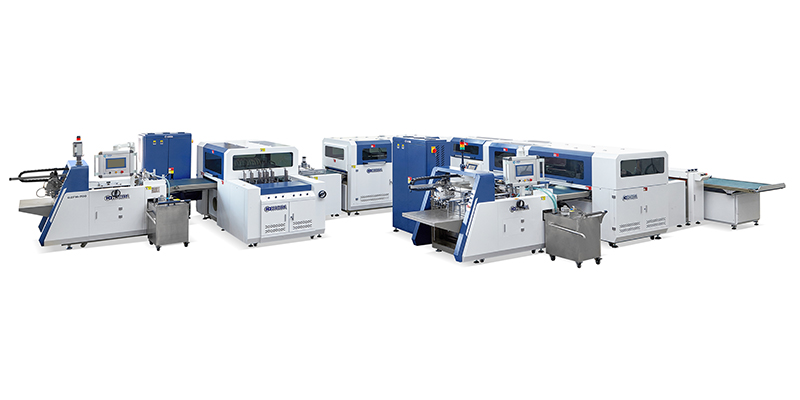
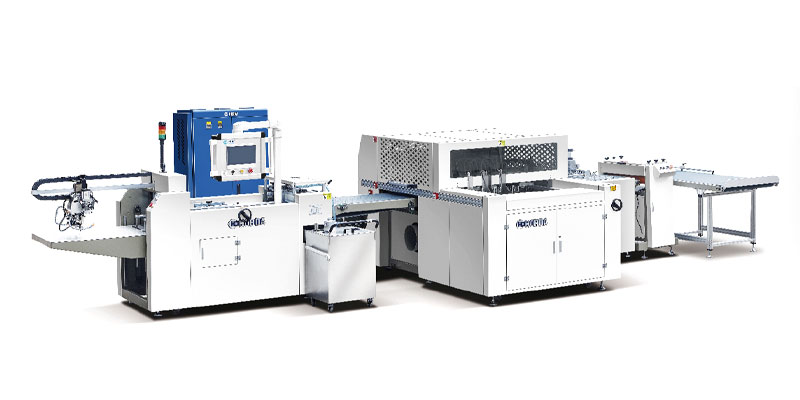
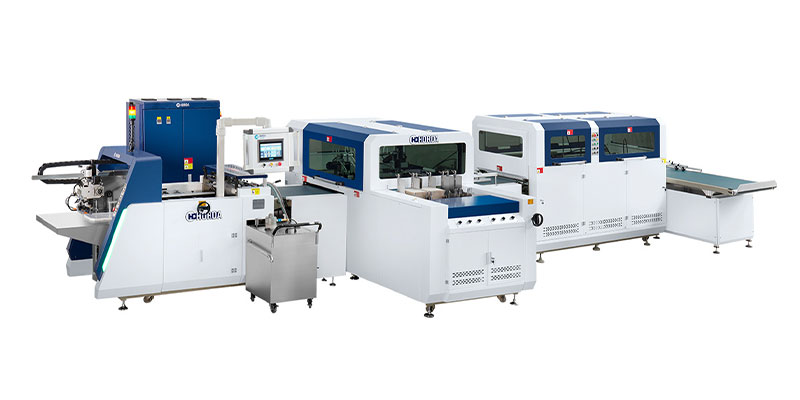
- Attach the Book Block to the Cover: Apply glue to the spine of the sewn book block and attach it to the inside of the hardcover. Use a clamp or weights to hold the book in place while the glue dries, ensuring a secure bond. Some binders also add a flexible material, like mull, between the book block and the cover to allow for better movement when the book is opened.we usually use Automatic Hardcover Case Making Machine to complete the whole process.

Finish the Book
- Trim the Edges: Use a guillotine or other cutting tools to trim the edges of the book block and cover evenly, giving the book a neat and professional appearance.
- Add Decorative Elements: You can enhance the cover with embossing, debossing, or foil stamping to add decorative elements, such as the title, author's name, or a logo. A dust jacket can also be created and added to the hardcover. It not only protects the cover but also provides additional space for marketing and design.
- Quality Check: Inspect the book carefully for any flaws, such as loose pages, uneven binding, or printing errors. Make any necessary adjustments or corrections at this stage.
- Package the Book: Once the book passes the quality check, it is ready to be packaged and shipped. Use appropriate packaging materials to protect the books during transit and storage.
Making a hardcover book requires patience and attention to detail. But with the right materials and techniques, you can create a beautiful, durable book that will be cherished for years to come.